
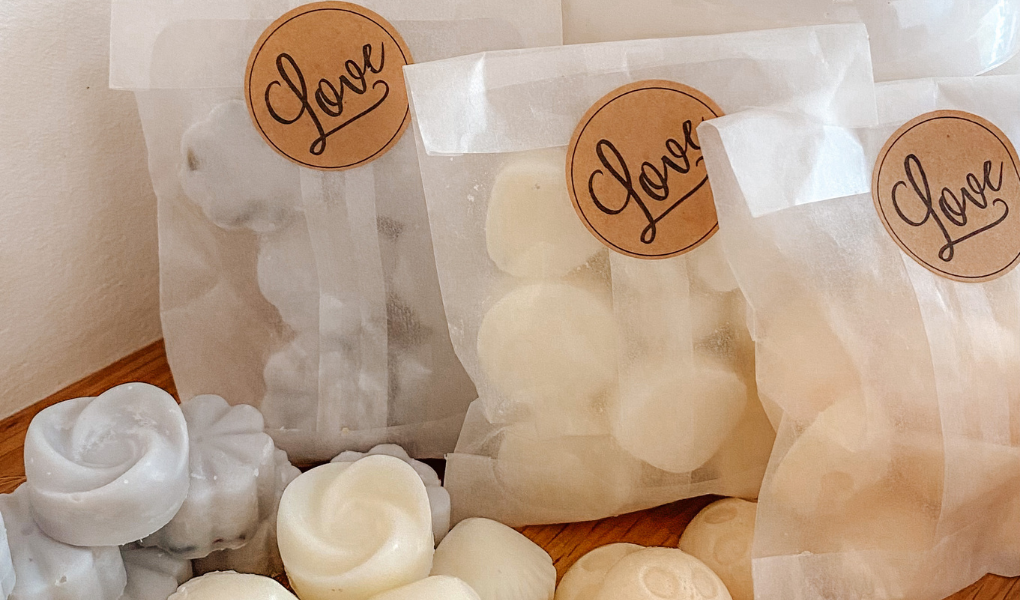
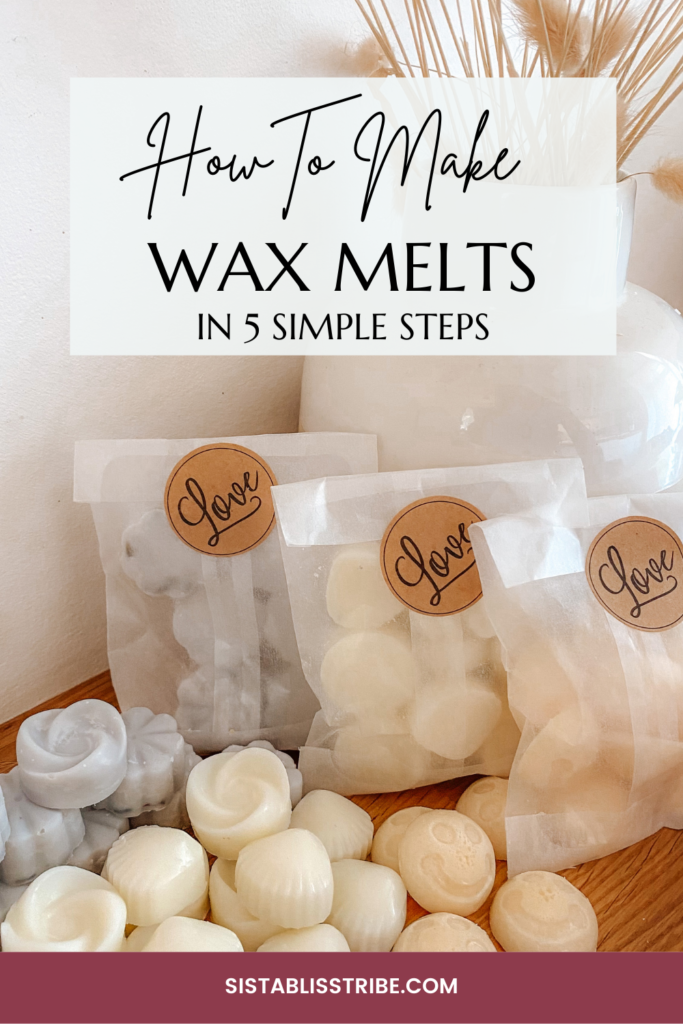
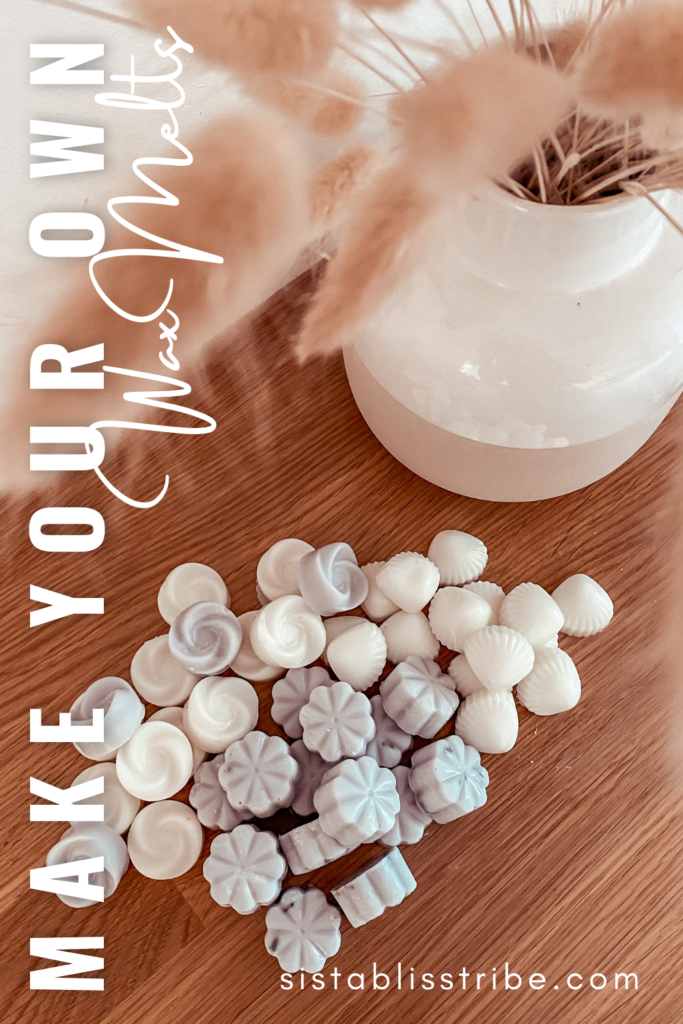
We are back with the most popular content on the Sistabliss Tribe blog, how to make beautiful homemade gifts and treats which boost wellbeing and give loved ones a virtual hug. This time, we are here with a super easy tutorial on how to make sensationally scented and beautiful wax melts – just in time for Christmas.
Wax melts are incredibly simple to make, and when it comes to colours, shapes and scents the possibilities are endless! Whether you’re simply looking for a fun craft, making them to fill your home with delicious scents or preparing homemade Christmas or birthday gifts, this tutorial provides all the information you need to get started.
So lets dive straight in.
*Disclosure: This post contains affiliate links and I receive a commission if you visit a link and buy something on my recommendation. Purchasing via an affiliate link doesn’t cost you any extra. All opinions are my own. For more details see my disclosure policy and privacy policy.*
Supplies
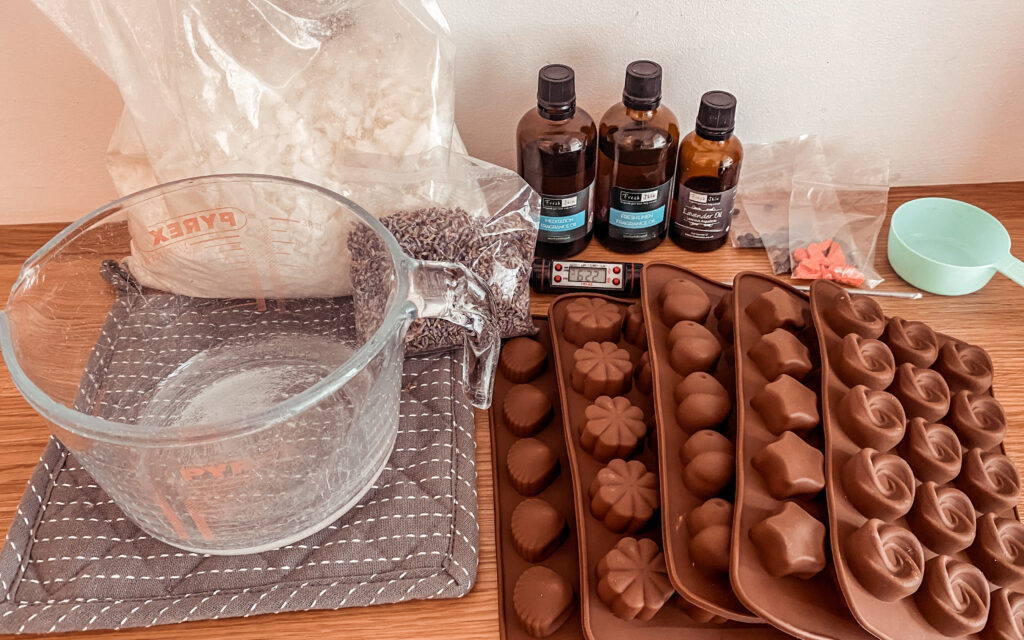
Before starting, please read this whole post to make sure you have all the equipment you need. The equipment that you will need to make your blissfully scented wax melts are listed below with helpful guidance for quantities and links to products I used. Whilst you can use different types of wax, I prefer soy over paraffin. Paraffin wax gives off chemicals into the air when it burns, and can cause side effects such as headaches. Soy however is better for the environment and healthier for the home and the family.
You will need:
Essential or fragrance oils
Wax dyes (optional)
Sprinkles such as dried lavender (optional)
Large glass measuring jug
Scoop
Microwave (if you don’t have one, to melt the wax place it in a metal jug and stand the jug in a saucepan of water on the hob)
Oven gloves (the jug will get hot)
Measuring spoons (5ml and 10ml ideally)
Table mats (optional to protect surfaces from wax and heat)
Labels (those photographed are from Hobbycraft)
Quantities
Rather than weighing out wax, I choose to melt wax in a jug with millimetre measurements. Once it is melted I can see how many ml of wax I have. What moulds you use and how many melts you intend to make will dictate how much wax you need, but a 2kg is a great place to start for a generous supply.
You will need at least 10% of scent (depending on its strength) per batch. So for 200ml of wax, you will need 20ml of scented oil.
If you wish to add colour to your wax, the product you purchase will have guidance on the quantity required to achieve the desired colour. The wax melts I use suggests 1-2 grams of dye per 1kg of wax.
Costs and preferred products
The cost of soy wax varies across suppliers and by quantity. Priced at £16.99 for 2kg of Moldmaster Soy Wax (as of 07/11/2021) on Amazon. They also sell larger quantities which work out cheaper per kg.
Essential oils and fragrances also vary greatly in cost. If you opt for essential oils, be sure they are 100% pure for the best scent and quality. I buy from FreshSkin Beauty, their Fresh Linen and Meditation fragrance oils are my favourite and the Lavender Essential Oil feels great quality for a reasonable price. Their oils cost around £7 per 100ml.
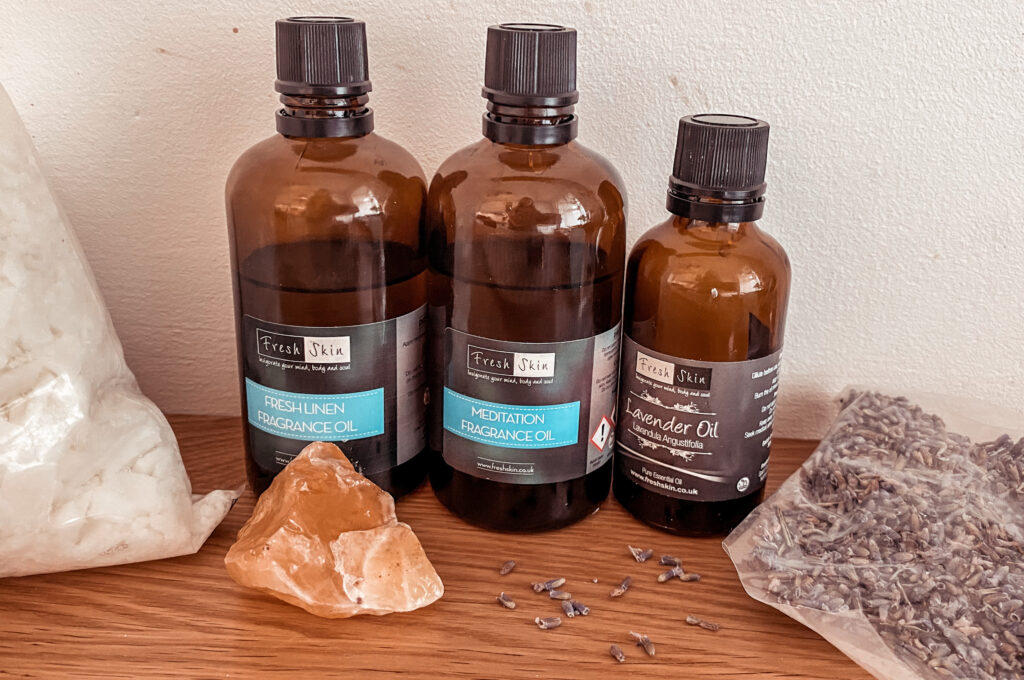
Wax dyes are completely optional. I love the cool fresh white of soy wax, but it is fun to play with different colours for new creations. I used wax dye melts from Hobbycraft, costing £4.50 for 3 colours with 3g of each.
The beauty of making wax melts is, you can pretty much make any shape which you can find a mould for. I particularly love this mixed set of chocolate moulds on Amazon – the shells and swirls are my favourite! For just £9.95 (as of 07/11/2021), you have 6 different designs to choose from and can use them over and over.
If you are gifting or even selling your creations, you may want to package them up. Glassine bags are a great environmentally friendly alternative to plastic bags, which hold in any oil to keep your packages clean and fresh. I used these glassine bags from Amazon, which are sold in various quantities and sizes from just £4.95 for 25 (as of 07/11/2021).
Instructions
WARNING: Please take caution using hot wax. Contact with the skin could cause burns, so ensure you wear sufficient protective clothing, keep a tidy workspace and use oven gloves to handle hot equipment.
Step 1
Set out all of your equipment and ensure your wax melt moulds are clean and dry. Create a suitable spot to set out your moulds where you can both pour them and leave them to set, moving them later may cause spillage and untidy edges. If you are making multiple designs/scents, plan your creations out before beginning.
Step 2
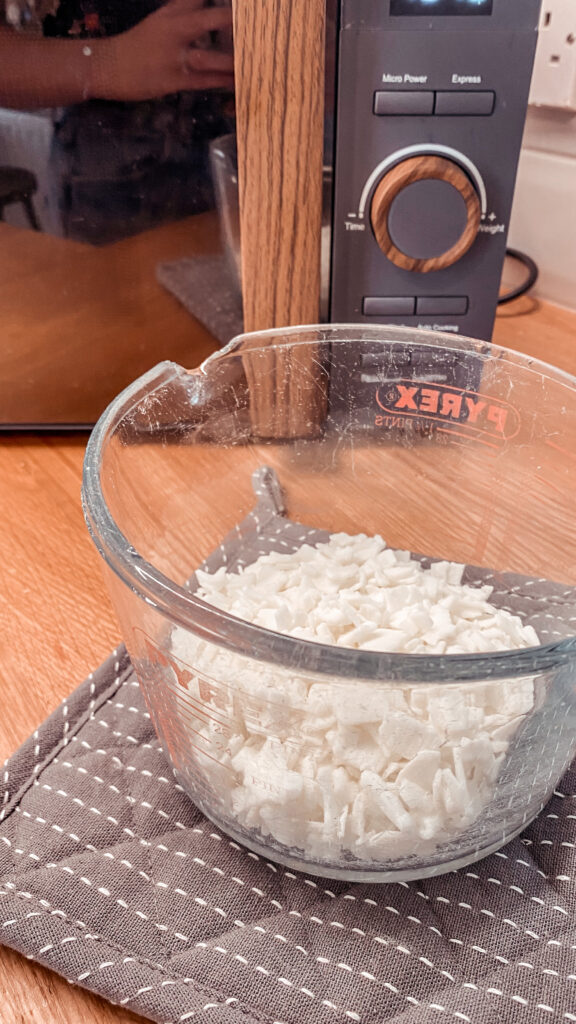
Scoop soy wax into your jug, it will melt down so bear in mind the quantity may appear greater until melted. Place in the microwave and heat for 30 second intervals until the wax is translucent. You may wish to stir to melt the last few specs of wax.
Step 3
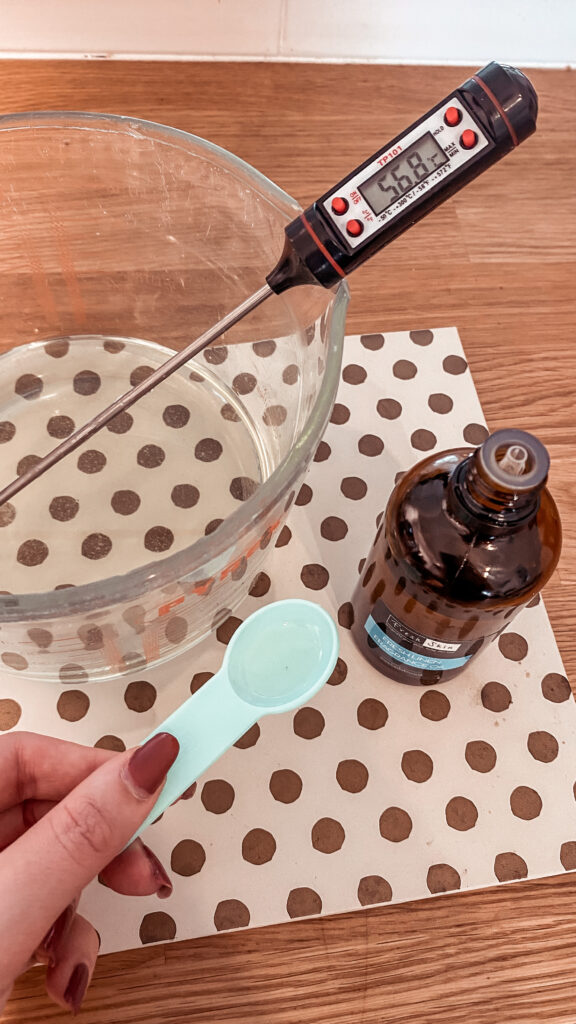
Once your wax is melted it is time to add your dyes and essential oils. If you are using dye, add a little at a time and stir really well until completely combined. You must only add essential oil to wax which is between 55-65 degrees celsius or the scent can burn off – what a waste! Add around 10% of oil (see above for guidance) and stir well.
Step 4
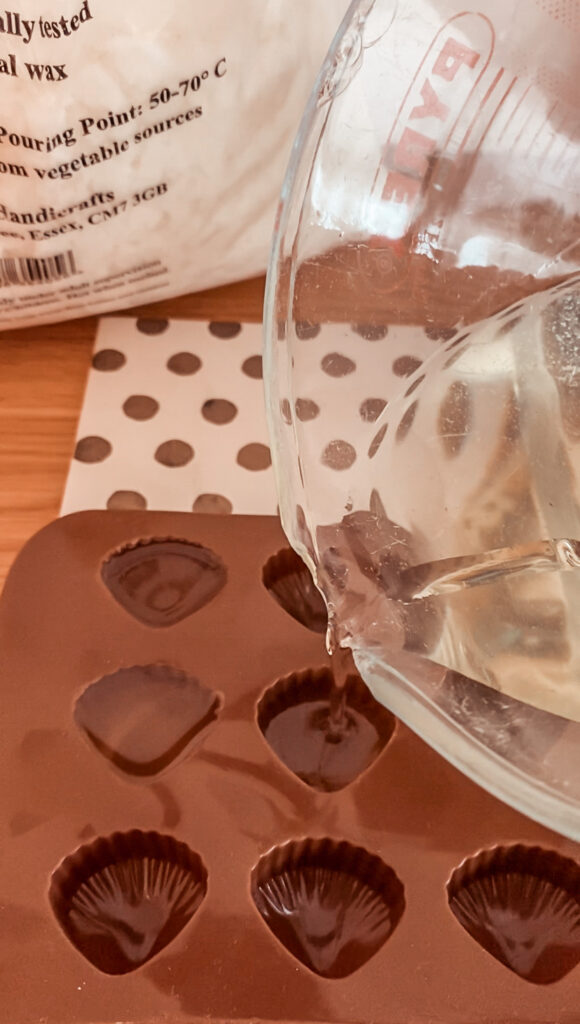
Slowly pour the hot wax, being very careful, into your wax melt moulds. Don’t worry if you run out, you can top them up with the next batch (however bear in mind it may be tricky to achieve the exact same shade if using dye). I prefer to add any sprinkles immediately after pouring, using my thermometer or a cocktail stick to poke them into a desired location.
Repeat the process of melting wax, adding dyes and oils and filling your moulds until you have finished your creations. If you switch colours, use kitchen towels or a cloth to wipe the dye from your jug and utensils between uses to avoid colour contamination.
Step 5
Leave your wax melts to cool at room temperature until they have completely hardened. Once set, simply pop them out of the silicon moulds and viola! Your stunning wax melts are ready to use in your oil burner or package up in glassine bags to gift to loved ones.
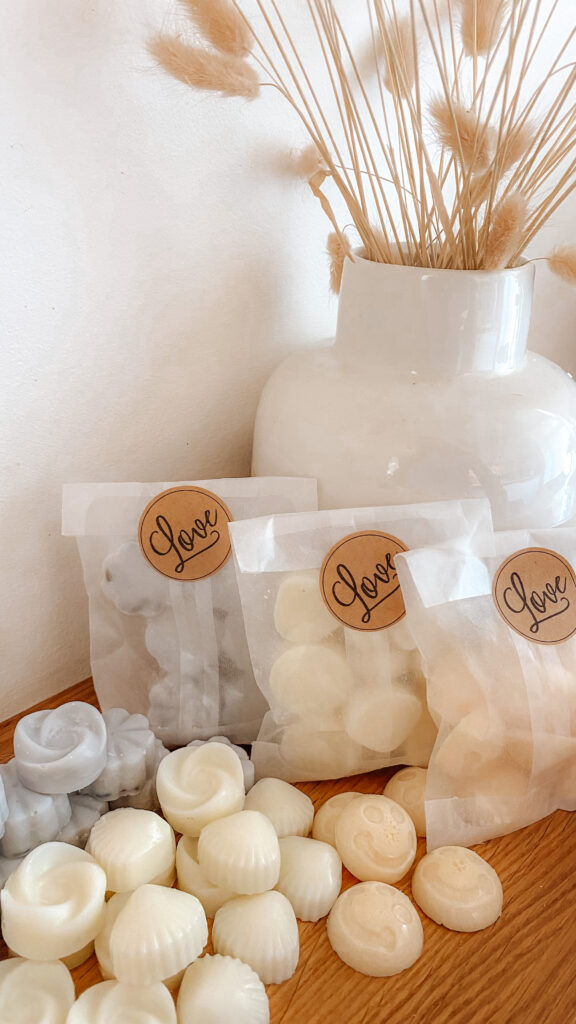
Your beautiful unique creations can be given on their own as a gift, or added to a gift box of other homemade goodies such as bath salts (read: How To Make Relaxing Lavender Bath Salts), a scented candle (read: How To Make Scented Soy Wax Candles) or temple balm (read: How To Make Temple Balm).
Try it out for yourself? Tag us in your photos @sistablisstribe on Instagram or Twitter.
For more wellbeing tips and homemade gift ideas to try at home, follow Sistabliss Tribe on Instagram, Pinterest and Twitter.
Stay safe out there, Rosie Louise.




Leave a Reply