
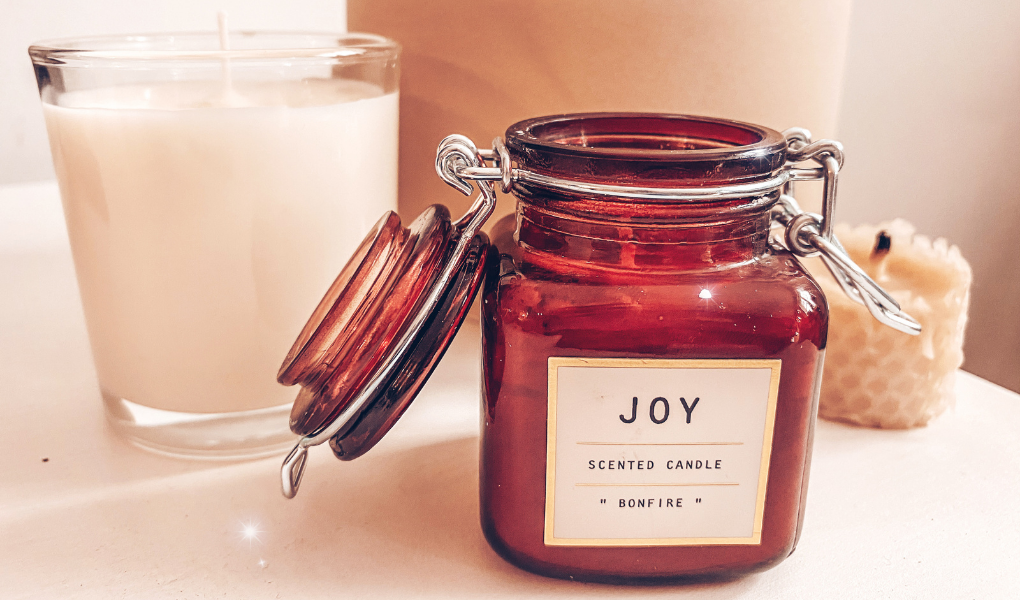
You know that bleak moment when the flame in your favourite candle flickers it’s last flicker and slowly fades into a anti-climatic puff of smoke? As if that wasn’t sad enough, you then discover a thick layer of wax still remains unburned. If it’s a Jo Malone candle, that’s £5 sitting lifeless in the bottom of that jar. Well it doesn’t have to end there. I tell you how to revive your favourite candle and use up the leftover candle wax.
Warning: Please take caution using hot wax. Contact with the skin could cause burns, so ensure you wear sufficient protective clothing, keep a tidy workspace and use oven gloves to handle hot equipment.

Supplies
Before starting to turn your leftover candle wax into a spanking new candle, please read this whole post to make sure you have all the equipment you need.
*Disclosure: This post contains affiliate links and I receive a commission if you visit a link and buy something on my recommendation. Purchasing via an affiliate link doesn’t cost you any extra. All opinions are my own. For more details see my disclosure policy and privacy policy.*
Equipment
- Soy wax – £10.95 for 2kg of Moldmaster Soy Wax (as of 04/10/2020) on Amazon. They also sell larger quantities which work out cheaper per kg.
- Pre-waxed candle wicks and bases – I use Pre-waxed wicks with bases from Amazon.
- Wick holders (or improvise with card, pegs or pencils and tape)
- Thermometer (I purchased this one from Ebay for just a few pounds)
- Wax dyes (optional) – I use wax dye melts from Hobbycraft, costing £4.50 for 3 colours with 3g of each
- Heat and microwave proof measuring jug
- Scoop
- Microwave (If you don’t have one, to melt the wax place it in a metal jug and stand the jug in a saucepan of water on the hob)
- Table mats (optional to protect surfaces from wax and heat)
- Scissors
Instructions
Step 1
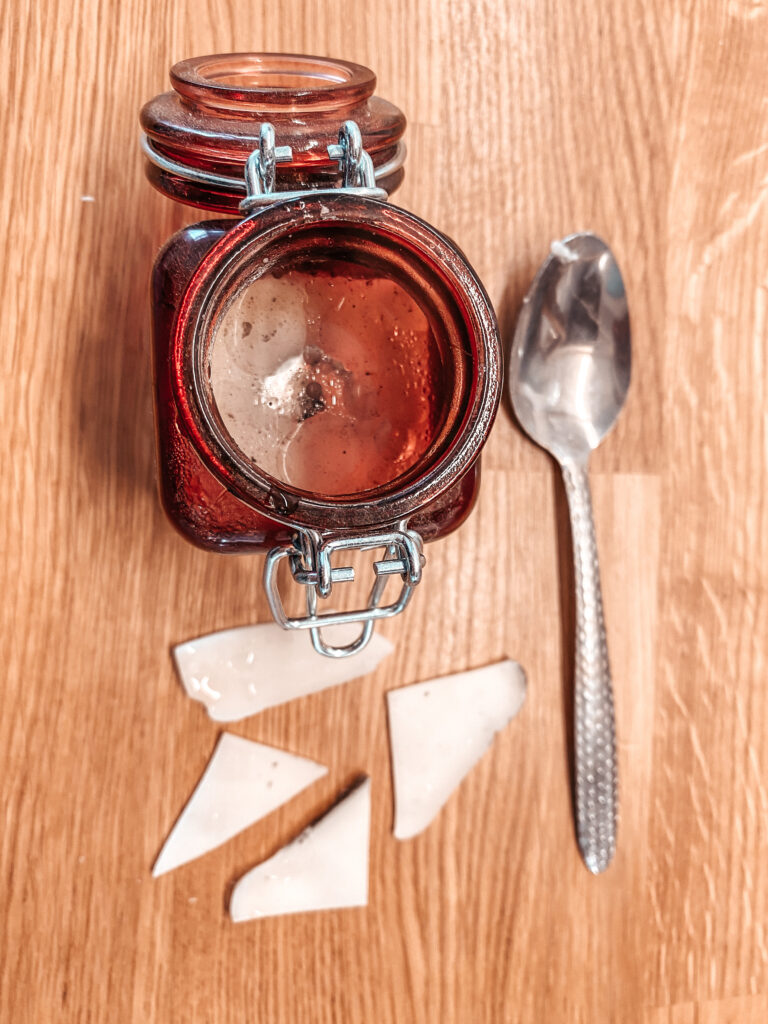
Boil the kettle and pour hot water into the old candle jar containing the leftover candle wax. Leave to cool, and watch as the wax floats to the top and hardens. Once cool, tap to break the floating layer of wax to remove and put to one side (don’t throw it away if you want to retain some of the scent in your new candle!). You may need to do this a couple of time to release all the wax from the bottom. You can also use a spoon to mould the softened wax away from the base to remove it.
Step 2
Once your jar and leftover candle wax have been successfully separated, wash the jar and dry thoroughly. Meanwhile place the wax on an absorbent surface like a tea towel and allow the water to drain off.
Step 3
Now to add a new wick to your candle jar. Take your wick with base attached (or attach the base using scissors to clamp the wick inside it), and add double sided tape. You can now stick the base in the center of the candle jar. It is important it is central or your candle will not burn evenly. Use a wick holder or make one out of a pencil or piece of card and tape to keep you wick standing upright and central.
Step 4
Take a heat proof jug and add your old wax. To the same jug, add flakes of fresh soy wax. It will be trial and error to determine the amount you need to fill your jar, it often melts down to considerably less volume than it appears before you melt it. Don’t worry, you can make and add a little more if its not enough whilst the wax is still liquid in your candle jar.
Step 5
Place the jug in the microwave and melt the wax for 30 second intervals until most of the wax is melted but there is still flakes of white wax. Use your thermometer to check the temperature doesn’t exceed 65 degrees celsius or you may burn off the scent from your old wax. Stir until all the wax has melted. If your old and new wax are different colours, you might wish to add and stir in a little wax dye at this point to make a new, more attractive colour.
Step 6
Place your candle in a spot where you can easily pour in the wax and leave the candle to cool, so you don’t have to move the jar and disturb the cooling wax. Carefully pour the wax into the jar. If there isn’t quite enough, melt a little more wax in the jug and pour into the previous wax (this must be done before it’s cooled, or your wax on top won’t carry any scent).
Step 7
Leave to cool for a couple of hours. Remove the wick holder and use scissors to cut down your wick so there is at least 1-2 centimetres visible to light. If the top of your candle is uneven, you can use a hairdryer to slightly remelt and level the surface – but I like these little floors to prove I made them!
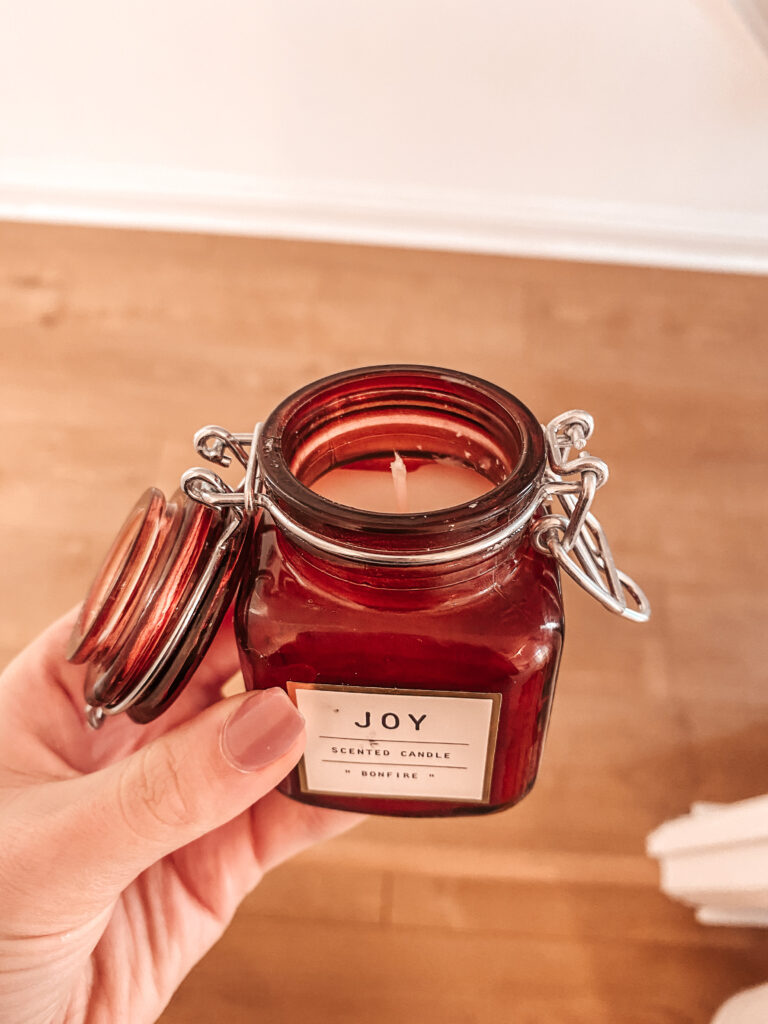
Violà! Your sad old candle is now revitalised and ready to use again.
Don’t forget to follow Sistabliss Tribe on Instagram, Pinterest and Twitter.
Stay safe out there, Rosie Louise.




I just went to a candle workshop in Cape May NJ. We were told to let the candle cure for 7 to 10 days before burning the first time.